Camcorder to DVD conversion
To burn videos from our Camcorder to a DVD in Windows 7 or 8 follow the instructions below:
- Attach the camcorder to a computer with a DVD write drive via USB cable contained in camcorder case.
- Open the camcorder screen and press the “Connect via USB” button in the upper left.
- Copy files (not the folder) from camcorder to C:\temp.
- If your computer does not have a read/write DVD drive, attached an external DVD burner to the computer.
- Insert blank CD into DVD drive.
- Dialog box will appear named “How do you want to use this disc”.
- Enter a title for the disk.
- Click with a CD/DVD player.
- Click Next.
- Window should pop up with “Files Ready to Be Written to the Disk”.
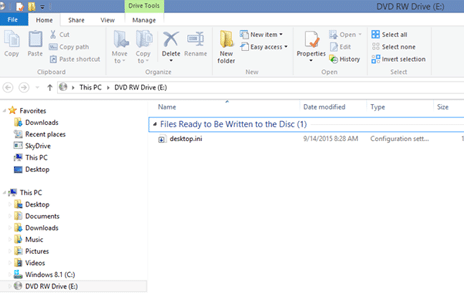
- Copy the files you want to burn from C:\temp to that window.
- Click on the menu button labeled “Share” at the top of the screen.
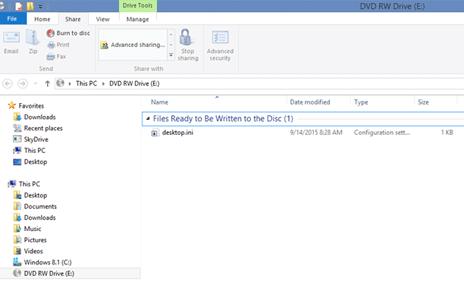
- Click Burn to Disk.
- Verify that DVD burned correctly.
- When you are finished AND have made sure DVDs are working, delete media from camcorder and return. Further down the line, or if you have disk space issues, you should delete the files you have copied to the C:\temp folder.